Saturday, 4 October 2014

Austrian Hazelnut Ring Cake - Nusskranzkuchen

So its not that I haven't been baking recently, I've just been baking the same cake A LOT!  Last year, whilst in Vienna, I picked up a copy of 'Culinary Austria' in one of the bookshops.  Its a great little cookbook, with many favourite Austrian recipes, translated into English.  The cake I've been working on is a Nusskranzkuchen or Hazelnut Ring Cake. 

Ingredients:
200g soft butter
200g granulated sugar
1tsp vanilla sugar
200g plain flour
4 egg yolks
4 egg whites
100g chopped or ground hazelnuts
100g chocolate chips
1/8tsp ground cinnamon
2tsp baking powder
2 apples.  Peeled and grated.  I used medium sized cooking apples.

It felt a bit like the technical challenge on the Great British Bake-Off.  Very basic information was offered in the book, so with a little baking knowledge I've picked up along the way, here is my interpretation.

Grease a 23-25cm ring tin or Bundt tin with butter.  Preheat your static oven to 170c.  Reduce accordingly for a fan oven.

Cream the softened butter with 100g of the granulated sugar and the vanilla sugar until blended and pale in colour.  Add the egg yolks one at a time until blended and creamy.

Add your hazelnuts (I use ground hazelnuts as it makes the cake more moist, but they are harder to find in the UK, so chopped are fine), chocolate chips (I use dark chocolate ones but the milk ones are fine also) and grated apple (leave grating your apples until you are ready to add them, otherwise they will go brown quickly) until mixed.

 
Add the flour, with the baking powder and ground cinnamon.  I don't bother to sift the flour, but you can if you prefer.  Just mix until blended as you don't want to overwork the batter.  It will be quite dense at this stage, but don't worry.
 
Now is the time to whisk your egg whites in a clean, dry bowl, until it forms soft peaks.  Add the remaining 100g of granulated sugar and whisk until blended and still retaining the soft peaks.  It should have a nice shiny gloss to it.  Don't be tempted to whisk your egg whites until you need to add them, or else they may separate.


Now gently fold the egg white mixture into the batter with a large metal spoon. Cut through the centre and fold onto itself.  The idea is to fully incorporate the egg whites (who wants white blobs of egg whites in your finished cake), but not to lose the eggs airiness and overwork the batter.
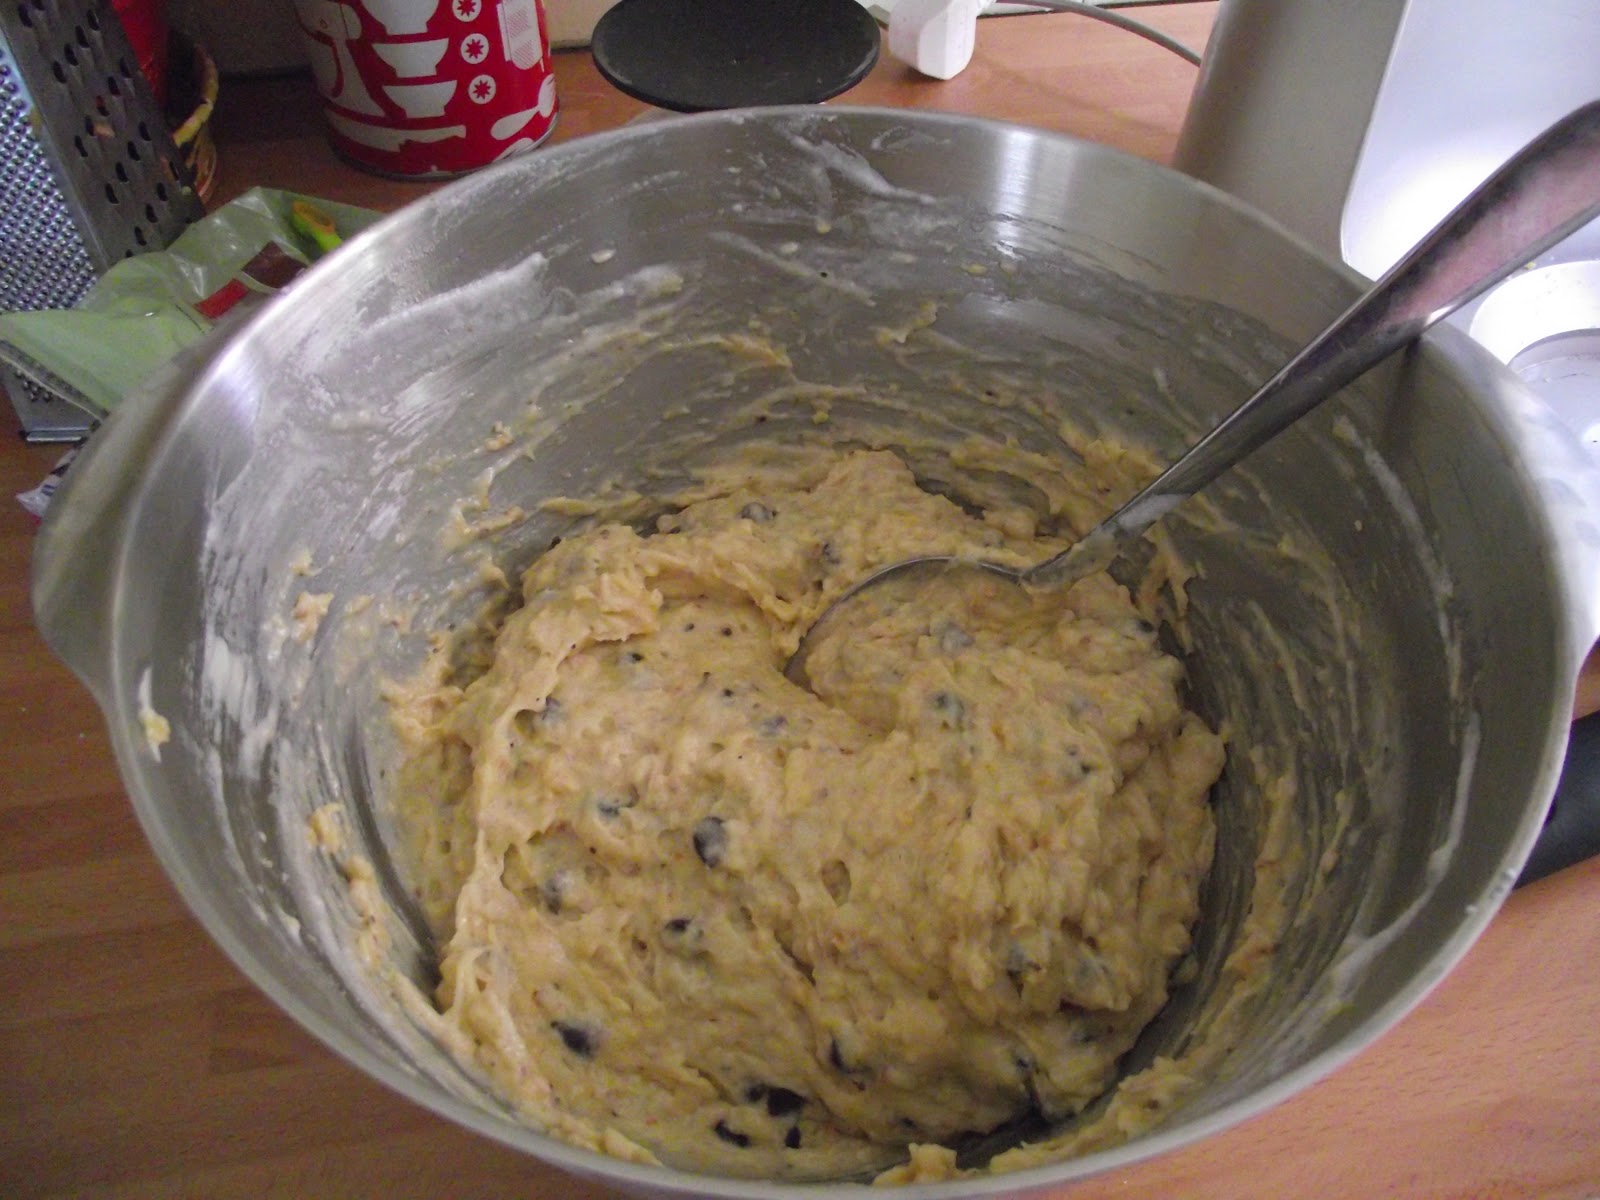


The batter will now be lighter.  Add evenly to your prepared Bundt tin.


Bake for 50-60 minutes until golden and a skewer comes out clean.  The skewer or knife will look moist, but that will be the apples in the batter.  If you still have batter on your skewer, bake for a bit longer until it comes out clean.  If the cake isn't baked but browning on top, pop a layer of baking paper over the top to prevent burning.


Allow the cake to cool in the tin, then turn out onto a cooling rack to cool completely.  Don't worry if it sticks a bit.  That will be the choc chips!


You can either dust with icing sugar or I like to melt about 50g of either dark or milk chocolate and drizzle over for a little decoration.  Then tuck in whilst dreaming of snow-capped mountains and lederhosen!  Its delicious. 


Happy baking!

Friday, 29 August 2014

Great British Bake Off - Florentines - Mary Berry Recipe

Well, the temperatures are heating up in the Great British Bake Off tent, but today's offering is Mary Berry's Florentines from Week 2 - Biscuits.  Here, they formed the Technical Challenge for the bakers, but it seemed the most important thing to know was how to temper chocolate.  That and correctly measuring out your ingredients.

Firstly, prepare and weigh out the nuts, flour and fruit.  I had some flaked almonds to use up, so used these instead of chopped almonds.  I chopped them into smaller pieces so the mixture would adhere together.  As I didn't have the amount of almonds required, I just used extra hazelnuts.  It is, however, just as I am typing this up, that I realise the recipe called for walnuts, NOT hazelnuts.  Ooopps.  Oh well, still tasted great.


Gently heat the butter, golden syrup and demerara sugar until the butter has melted.  The sugar does not need to dissolve.


Add the flour, fruit and nuts and combine.


You then need to divide the mixture into 18 portions and place 6 on each lined baking tray.  I have quite large baking trays, so will just use 2 next time.  The important thing is they need space to spread.


Pop into a preheated 180c static oven and bake for 8 - 10 minutes.  Mine took 8 minutes on the top shelf and 9 minutes on the bottom.  They need to be golden brown.  Just cooked enough, so they have a crunch as you bite in, but a chewy centre, but not undercooked, so they flop when picked up once cooled.


I don't think I would have won any prizes for equal sizing, but hey, I can work on that!  Whilst they were cooling on a wire rack, it was time for the chocolate layer.  The recipe is also found in Mary's Baking Bible, and here she suggests melting all the chocolate together, then spreading over the base of the Florentine and allowing to cool.  On Bake Off, the chocolate needs to be tempered, so half the chocolate is melted in a bowl over a pan of simmering water until it reaches 53C.  The remaining chopped up chocolate is then added to the bowl (now removed from the simmering water) and stirred until it melts and then cools to 26C.  For this you really need a proper sugar thermometer (now on my shopping list!!) as mine only went down to 50C.  So basically I judged it by whether I could make a zigzag in the chocolate once on the biscuit.


 Simply delicious served with a proper posh tea, in a not so posh but lovely mug!


I shared a few, but most got nibbled straight from the tin as they were so moreish.

I've also been making the most of the late summer fruit harvest. 
Damson Gin, which will mature until Xmas ......... hopefully!


Plus Cinnamon Baked Plums which I found on a great website - The British Larder.
Perfect with yoghurt, rice pudding, ice-cream.


Happy Baking!

Friday, 22 August 2014

Great British Bake Off - Cherry & Almond Cake - Mary Berry Recipe

So in a week I've managed to bake 4 cakes.  Luckily for the waistline, I've only tried a slice or 2 of each.  This weeks offering came from watching Week 1 of the Great British Bake Off .  As it was Cake Week, Mary Berry's Cherry Cake was the choice for the Technical Challenge. 

The technical side of it was knowing what to do with the cherries as Mary DID NOT want them all to sink to the bottom.  To prevent this you quartered each glace cherry (reserving 5 cherries for decoration), rinsed them under cool water, drain and dry well, then toss in 2tbls of the required flour.  Its a new tip for me and might also work when you put fresh fruit in a cake batter as it often sinks.  Removing the glaze and tossing in flour helps them stick to the batter, rather than 'slipping' through it whilst baking.


The remaining batter ingredients are placed in a bowl and blended together for 2 minutes until smooth.


Then gently fold in the prepared cherries and scrap into a buttered Bundt tin.  The recipe asks for a 23cm tin, but mine is 25cm, so will create a wider, but not so deep cake.


Pop it in a pre-heated 180c static oven.  Now time to pour a G&T and sit back and relax while it bakes.  Wouldn't do that on Bake Off would you!

35 minutes later it came out the oven nice and golden.


Allow to cool for 15 minutes in the tin before turning out to cool completely.


The icing was a simple mix of icing sugar and lemon juice, though as the recipe states the juice of 1 lemon, don't add it all at once.  Lemons vary in size and juiciness. My icing could have been slightly thicker, but I'm happy with it.  Also a good tip is put a plate or kitchen paper under your cooling rack to catch the icing that inevitably drips off the cake!  Adorn with the remaining cherries and flaked almonds and voila!


The destination for this cake was for after my Running Clubs Annual Charity Relay Race around Hayling Island.  A bit more crumbly than expected (probably due to the ground almonds in the batter), but pretty tasty, I didn't get to bring much home.  AND the cherries were well distributed throughout the cake I think.  Would I have passed the Technical Challenge Mary???


A variation of this recipe can also found in Mary Berry's Baking Bible using a round tin, instead of a Bundt tin.

Happy Baking!

Thursday, 14 August 2014

Frosted Courgette & Lemon Cake

So it begins.  Another season of The Great British Bake Off!  What a mixture of contestants as usual. 
I was tempted to give Mary Berry's Cherry Cake from Week 1 a go, but as I was off to see my Godson at the weekend and his favourite cake is Victoria Sponge, it seemed right to bake Mary's version instead.  The recipe comes from the Mary Berry Baking Bible.


Such a simple cake, you put all the ingredients into a mixing bowl and whizz together until blended well.  The only difference in the book from the one I have linked to, is the recommended oven temperature.  In the book its 160c for a fan oven and bake for 25 minutes.  Mine were starting to darken on the top, so I just covered with baking parchment for the last 5 minutes.  I'm still cheating and using cake tin liners, hence the ridged edges.  Mary would not approve!

I did, however, fill it with homemade strawberry jam with a hint of rose syrup.  So I may have redeemed myself.  Lovely and light, it certainly didn't last long.


Always on the look out for more recipes to use up the 'Allotment Glut' of fruit and veg, I stumbled across a recipe for Frosted Courgette & Lemon Cake on the BBC food website.

Again, another simple sponge recipe with the addition of lots of grated courgettes.  This one used a 50/50 mix of white self-raising flour and wholemeal flour.  It meant I got to use some Emmer flour from Doves Farm Organic that my Sister had found me.  Wholemeal, but without the bits!


You use 300g of courgettes in the batter so it makes for a really moist cake.


I baked mine at 160c for 25 minutes, turning part way through so they cooked more evenly.  They look a bit pock-marked, but that's due to all the courgettes.


The first one I made for a friends husband as a thank you for buying us all lunch.  I followed the recipe by filling and topping with the frosting and lemon curd in the middle.


The second attempt just had filling and lemon curd, as I needed to use up the remaining full fat cheese tub.  Just as delicious and a bit more portable if you want to give away some!


I might give the Cherry Cake a go this weekend, but then there's all the biscuits to try from Week 2 of Bake Off.  Oh the dilemma!

Happy Baking!


Tuesday, 22 July 2014

Gooseberry & Almond Cake #2 and My Cup of Tea Socks

Over the years I've made and blogged a lot of cakes.  But one of my most popular viewed posts is for a Gooseberry and Almond Cake that I tore out of a Waitrose Food Magazine.  Looking through the recipe books, a cake recipe for gooseberries is a little thin on the ground.  So I've decided to re-blog this one with a few tweaks.

Gooseberry & Almond Cake Recipe

 125g Softened butter
200g Castor sugar
3 Large eggs, beaten
75g Sifted plain flour
75g Ground almonds
3/4 tsp Baking powder
350g De-stalked gooseberries
35g Flaked almonds

Preheat the oven to 190C / Gas mark 5 or adjust for a fan oven.  Beat the butter and 125g of the sugar together until pale and fluffy.  Add the eggs a little at a time and blend well after each addition.  If the mixture starts to curdle, add a tablespoon of the flour.  Fold in the rest of the flour, the ground almonds and the baking powder.  Scrape into a buttered 20cm spring-form tin.  Toss the gooseberries with the remaining 75g of sugar and spread over the top of the cake.  Bake for 20-25 minutes.  Sprinkle over the flaked almonds and return to the oven for another 10 minutes.  The cake is ready when a skewer inserted into the centre comes out clean.  Leave to cool in the tin.  Remove the ring and base and dust with icing sugar.  Then devour!

The allotment is producing masses of soft fruit this year.  Over 4kg of gooseberries so far and more left to harvest.
.


When I tried the recipe again this year, I followed as above using a static oven.  As you can see its a lot of gooseberries.


The end result being, the cake was really moist in the centre due to so many gooseberries and sunk in the middle as it was unbaked in the centre.


So I gave it another go, but this time cooking it at 190c in a fan oven for 25 minutes to start, then 10 minutes with the flaked almonds.  If it looks like it is browning too much, cover with baking parchment.
I also reduced the amount of gooseberries to 250g and tossed them in 50g of castor sugar, rather than 75g.

The result is a little darker in colour, but cooked in the centre and delicious!


Perfect with a cup of tea or for munching whilst knitting 'My Cup of Tea' socks, my new pair for the Flora KAL over on the UK Sock Knitters group on Ravelry.


If you have glut of gooseberries, give it a go. Just don't be afraid to keep cooking it if its got a soggy middle!

Happy baking!

Sunday, 25 May 2014

Pie Crust Cushions from Jo Colwill's Book 'Cushions & Quilts'

I have been itching to use some lovely linen fabric in my stash, but just had to decide on the right project.  As I only had a fat quarter each of the floral and pink hare fabric, I knew it had to be a cushion.

Last November I had the delight of being back at Cowslip Workshops in Launceston, Cornwall for their annual Xmas Bonanza Weekend. One of the many options to try out was a Pie Crust Cushion, designed by owner Jo. Using some lovely red heart and flower fabric from the shop along with some I already had, I created a fabulous applique heart cushion. But more of that later.

This gave me the idea for my Hare cushion.  Using the larger brown hare fabric piece, I then cut out the pink hare fabric to create a wide border.


The final size came to 11 inches square.  I cut out the back fabric and then added a piece of wadding and plain fabric to each to create a quilt sandwich.  This helps bulk out the cushion and makes the Pie Crust effect when you hand stitch later.


A side gusset has to be added to the top panel first and then the bottom panel leaving enough space to get your cushion pad in.  Stuff the cover with the pad and hand sew the open seam with a slip stitch.


The Pie Crust effect is created by hand sewing up and down on the top and bottom of the cushion, using a cotton Perle thread.  I used Anchor Cotton Perle No 5 in Colour 968 Pink.


Here's the original Heart cushion I made, which gave me the idea for the Hare cushion.


This was using a 12 inch square, but both were stuffed with a 14 inch cushion pad for bulk.


And as its Chelsea Flower Show this week, I thought a garden shot might show them off nicely!


Happy Sewing!

Monday, 19 May 2014

Betula Socks and a Mighty Fine Cake!

I confess, I have had a bit of a slow spell with the knitting recently, but am chuffed to have finished my Betula Socks by the talented Rachel Coopey.  I only started them in January.........  probably the longest time I have had a pair of socks on the needles.  Still I can only speed up.  I was knitting them as part of the UK Sock Knitters Flora Themed Knit-a-long on Ravelry.  As I had actually compiled the list of plant suggestions, I thought I better crack on and finish a pair within the year!


An interesting design that included increases and decreases to create the lovely bobbled effect.  They are a present for a lady with quite large feet.  I just have to decide if she gets them for Xmas or her birthday!

Talking of birthdays, I just had to share a picture of the cake my amazing Mum made me for my recent birthday.  Its a recipe by Frances Quinn, who won last years Great British Bake Off. 


A 5 tier sponge cake with lashings of mascarpone and lemon curd filling and loads of fresh fruit no less.  Delish!!!  The recipe was in this months Good Food Magazine.

It makes my attempt at an Orange Syrup Cake look quite measly.  From Mary Berry's Baking Bible, it was a lovely alternative to a Lemon Drizzle Cake and made its way off to the Cake Stall at a local open garden.


Now I just need to wind my lovely skein of yarn for my next pair of socks.  I think these will be for me!


Happy Knitting / Baking!